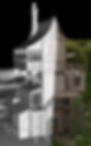
Painting The Path:
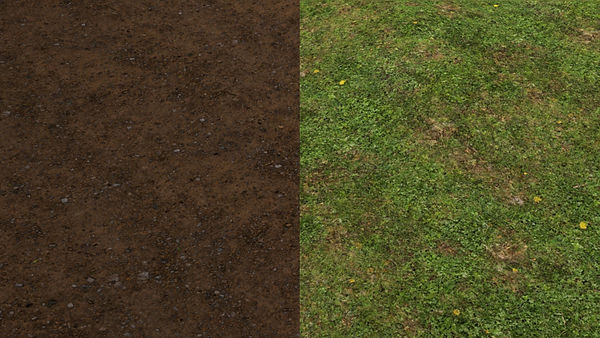
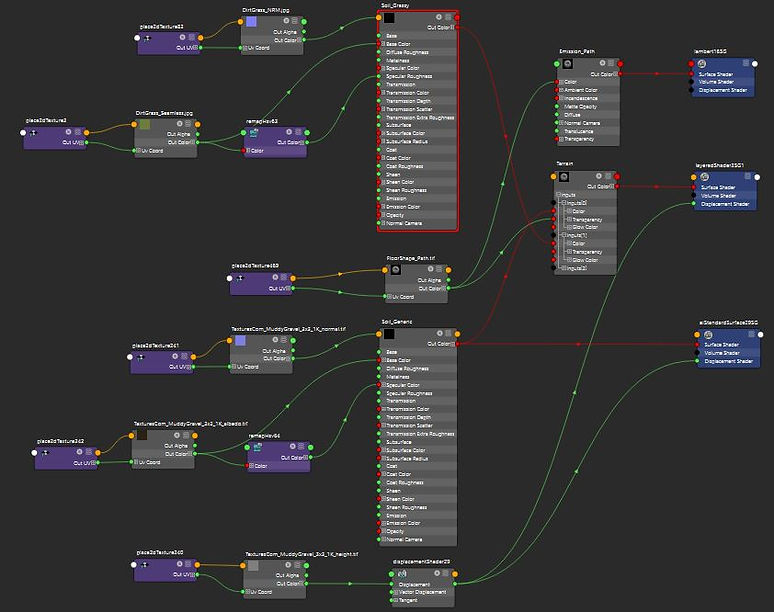
The material for the terrain was done using two different shaders. First, I create the materials, one for grass and another for soil. Both are made with a diffuse, a normal and a height map. I created the specular maps by running the diffuse texture through a remap node, then turning the saturation to zero leaving me with a black and white image which I then tweaked the values of to give me a working spec map. These are then connected to a LayerShader node. This works by creating two inputs (0 and 1) and attaching a material to each one. As the node name suggests these materials, once connected are layered so one is sitting on top of the other, in this case, grass and soil.
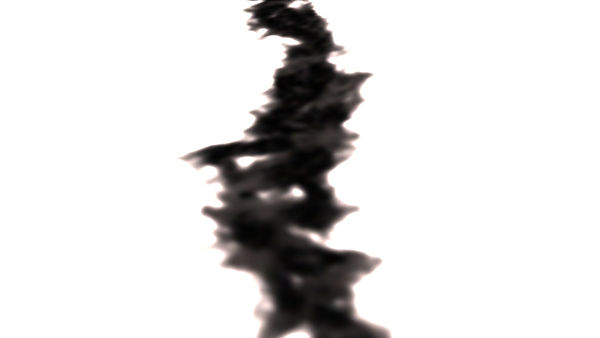
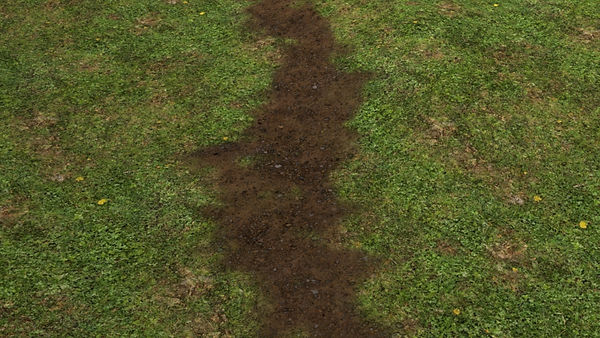
From here it was just a matter of exposing the soil material, which I did by using the 3D Paint Tool after applying an emission shader to the surface. Then I selected a scribbly pencil type brush to make things look uneven and natural. When painting, anything coloured white is the grass shader and anything black is the soil material. The emission shader is then connected to the transparency slot on the LayerShader, and the LayerShader itself is applied to the floor.
Texturing Trees and Plants:
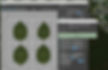
I began by building a library of different plants and trees that I could simply open and pick a mesh from. I used the templates inside the content browser within Maya as a starting point.
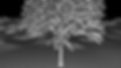
After drawing out the mesh I took the time tweaking the appearance. By default, they look unrealistic and are not to scale. For example the trees I increased the number of branches as well as the number of leaves, I altered the starting point for when the branching and leaves begin, the thickness of the base and body, the stiffness and gravity to bring down the branches slightly, turned the leaves so that they are facing the sun, and most importantly, I changed the shape of the leaves to a flat uniform plane for easy texturing later, and added one subdivision to each plane so that I could bend the leaves a touch.
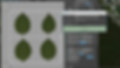
I used a UV Randomizer script when laying out the UV’s for all the leaf planes, this would assign each unwrapped UV surface to 1 of 4 sections on a 2x2 grid. From there I just had to make sure to lay out the leaf textures so that they would line up with the grid.


Placing Trees and Grass:
The placement of the trees and grass was done through a particle instancer that emits from the terrain geometry after 1 frame on the animation slider. I created the particle emitter (one for trees and another for grass), I then had to write 3 expressions, one that controlled the scale, another for the rotation and the other for the index (the number of different meshes spawning from the instancer). After declaring how many particles spawn, the expressions would then randomly assign scale, rotation and a mesh to each particle.
I quarantined the house area from the instancer through the use of an emission map texture that I painted and was then tied to the instancer, this used black and white information to determine the position of each particle (White = No Spawn, Black = Spawn), I also used 'Emit From Dark' which meant I could control how dense I wanted certain areas to be by painting lighter and darker colours, lighter meaning less emitting and darker meaning more dense emitting.
From there I could simply slide between frames 0 and 1, each time receiving a different look as the particles would emit in a different location, with a different mesh, scale and rotation. Once I found one I was happy with I set the initial state of the emitter, keeping everything in place. I also had an instancer for foliage; however, I ended up scrapping it because I felt like it overwhelmed the scene with plant life, which I then decided to exclude to only the area surrounding the house.
I have since learned how to use MASH, which has allowed me to avoid some of the more complicated steps all while achieving the same result much faster and effectively with its easy to use friendly user interface.
The images are to help illustrate this process continue below.


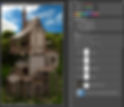
Editing The Renders:
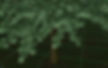
Since I was going for a fantasy vibe I wanted to bring out a lot of the vibrate colours, which I did by slightly increasing the exposer as well as the saturation on particularly the reds and greens. I then added a slight curve to make those colours pop a little more. I render the images with an alpha channel and so selected the alpha selection and then hide the selection on the image layer leaving me with an empty background, which I chose to add a bright blue sky to in order to keep the vibrancy consistent.
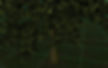
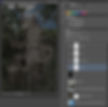
I also made an image that went in the opposite direction, dark, gloomy, cold and dreary. Which I did by lowering the exposer, brightness and saturation. I added a rain overlay that I decreased the opacity on and included some extra tree players to occupy the foreground and making the scene feel busier and populated with vegetation.